In the last post I wrote I had a first look into a plain, clean and lightweight React setup. I'm still impressed how easy the setup is and how fast the loading of a React app really is. Before trying to push this setup into a ASP.NET Core application, it would make sense to have a look into the ASP.NET Core React project.
Create the React project
You can either use the "File New Project ..." dialog in Visual Studio 2017 or the .NET CLI to create a new ASP.NET Core React project:
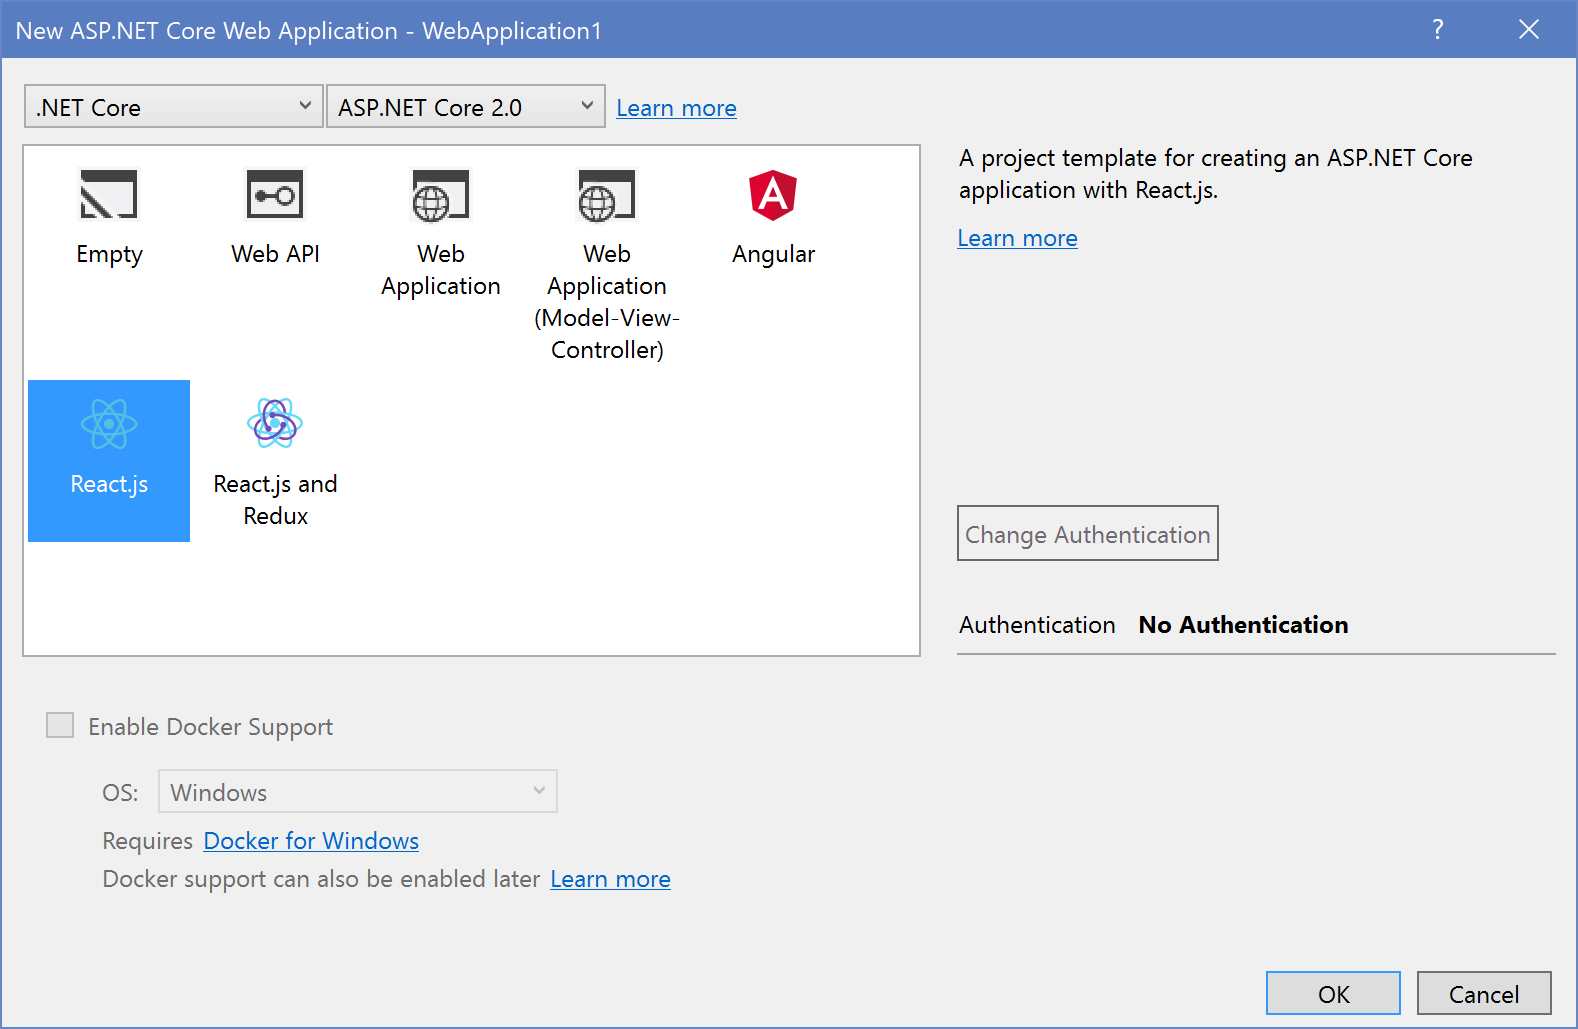
dotnet new react -n MyPrettyAwesomeReactAppThis creates a ready to go React project.
The first impression
At the first glance I saw the webpack.config.js, which is cool. I really love Webpack and I love how it works, how it bundles the relevant files recursively and how it saves a lot of time. Also a tsconfig.json is available in the project. This means the React-Code will be written in TypeScript. Webpack compiles the TypeScript into JavaScript and bundles it into an output file, called main.js
Remember: In the last post the JavaScript code was written in ES6 and transpiled using Babel
The TypeScript files are in the folder ClientApp and the transpiled and bundled Webpack output gets moved to the wwwroot/dist/ folder. This is nice. The Build in VS2017 runs Webpack, this is hidden in MSBuild tasks inside the project file. To see more, you need to have a look into the project file by right clicking the project and select Edit projectname.csproj
You'll than find a ItemGroup with the removed ClientApp Folder:
<ItemGroup><!-- Files not to publish (note that the 'dist' subfolders are re-added below) --><Content Remove="ClientApp\**" /></ItemGroup>And there are two Targets, which have definitions for the Debug and Publish build defined:
<Target Name="DebugRunWebpack" BeforeTargets="Build" Condition=" '$(Configuration)' == 'Debug' And !Exists('wwwroot\dist') "><!-- Ensure Node.js is installed --><Exec Command="node --version" ContinueOnError="true"><Output TaskParameter="ExitCode" PropertyName="ErrorCode" /></Exec><Error Condition="'$(ErrorCode)' != '0'" Text="Node.js is required to build and run this project. To continue, please install Node.js from https://nodejs.org/, and then restart your command prompt or IDE." /><!-- In development, the dist files won't exist on the first run or when cloning to
        a different machine, so rebuild them if not already present. --><Message Importance="high" Text="Performing first-run Webpack build..." /><Exec Command="node node_modules/webpack/bin/webpack.js --config webpack.config.vendor.js" /><Exec Command="node node_modules/webpack/bin/webpack.js" /></Target><Target Name="PublishRunWebpack" AfterTargets="ComputeFilesToPublish"><!-- As part of publishing, ensure the JS resources are freshly built in production mode --><Exec Command="npm install" /><Exec Command="node node_modules/webpack/bin/webpack.js --config webpack.config.vendor.js --env.prod" /><Exec Command="node node_modules/webpack/bin/webpack.js --env.prod" /><!-- Include the newly-built files in the publish output --><ItemGroup><DistFiles Include="wwwroot\dist\**; ClientApp\dist\**" /><ResolvedFileToPublish Include="@(DistFiles->'%(FullPath)')" Exclude="@(ResolvedFileToPublish)"><RelativePath>%(DistFiles.Identity)</RelativePath><CopyToPublishDirectory>PreserveNewest</CopyToPublishDirectory></ResolvedFileToPublish></ItemGroup></Target>
As you can see it runs Webpack twice. Once for the vendor dependencies like Bootstrap, jQuery, etc. and once for the react app in the ClientApp folder.
Take a look at the ClientApp
The first thing you'll see, if you look into the ClientApp folder. There are *.tsx-files instead of *.ts files. This are TypeScript files which are supporting JSX, the wired XML/HTML syntax inside JavaScript code. VS 2017 already knows about the JSX syntax and doesn't show any errors. That's awesome.
This client app is bootstrapped in the boot.tsx (we had the index.js in the other blog post). This app supports routing via the react-router-dom Component. The boot.tsx defines an AppContainer, that primarily hosts the route definitions. stored in the routes.tsx. The Routes than calls the different components depending on the path in the bowsers address bar. This routing concept is a little more intuitive to use than the Angular one. The routing is defined in the component that hosts the routed contents. In this case the Layout component contains the dynamic contents:
// routes.tsx
export const routes = <Layout><Route exact path='/' component={ Home } /><Route path='/counter' component={ Counter } /><Route path='/fetchdata' component={ FetchData } /></Layout>;
Inside the Layout.tsx you see, that the routed components will be rendered in a specific div tag that renders the children defined in the routes.tsx
// Layout.tsx
export class Layout extends React.Component<LayoutProps, {}> {
  public render() {
    return <div className='container-fluid'><div className='row'><div className='col-sm-3'><NavMenu /></div><div className='col-sm-9'>
      { this.props.children }</div></div></div>;
  }
}
Using this approach, it should be possible to add sub routes for specific small areas of the app. Some kind of "nested routes".
There's also an example available about how to fetch data from a Web API. This sample uses isomorphic-fetch' to fetch the data from the Web API:
constructor() {
  super();
  this.state = { forecasts: [], loading: true };

  fetch('api/SampleData/WeatherForecasts')
    .then(response => response.json() as Promise<WeatherForecast[]>)
    .then(data => {
          this.setState({ forecasts: data, loading: false });
	});
}
Since React doesn't provide a library to load data via HTTP request, you are free to use any library you want. Some other libraries used with React are axios, fetch or Superagent.
A short look into the ASP.NET Core parts
The Startup.cs is a little special. Not really much, but you'll find some differences in the Configure method. There is the use of the WebpackDevMiddleware, that helps while debugging. It calls Webpack on every change in the used TypeScript files and reloads the scripts in the browser while debugging. Using this middleware, you don't need to recompile the whole application or to restart debugging:
if (env.IsDevelopment())
{
  app.UseDeveloperExceptionPage();
  app.UseWebpackDevMiddleware(new WebpackDevMiddlewareOptions
  {
    HotModuleReplacement = true,
    ReactHotModuleReplacement = true
  });
}
else
{
  app.UseExceptionHandler("/Home/Error");
}
And the route configuration contains a fallback route, that gets used, if the requested path doesn't match any MVC route:
app.UseMvc(routes =>
{
  routes.MapRoute(
    name: "default",
    template: "{controller=Home}/{action=Index}/{id?}");

  routes.MapSpaFallbackRoute(
    name: "spa-fallback",
    defaults: new { controller = "Home", action = "Index" });
});
The Integration in the views is interesting as well. In the _Layout.cshtml:
- There is a base href set to the current base URL.
- The
vendor.cssand asite.cssis referenced in the head of the document. - The
vendor.jsis referenced at the bottom.
<!DOCTYPE html><html><head><meta charset="utf-8" /><meta name="viewport" content="width=device-width, initial-scale=1.0" /><title>@ViewData["Title"] - ReactWebApp</title><base href="~/" /><link rel="stylesheet" href="~/dist/vendor.css" asp-append-version="true" /><environment exclude="Development"><link rel="stylesheet" href="~/dist/site.css" asp-append-version="true" /></environment></head><body>
    @RenderBody()<script src="~/dist/vendor.js" asp-append-version="true"></script>
    @RenderSection("scripts", required: false)</body></html>
The actual React app isn't referenced here, but in the Index.cshtml:
@{
    ViewData["Title"] = "Home Page";
}<div id="react-app">Loading...</div>

@section scripts {
    <script src="~/dist/main.js" asp-append-version="true"></script>
}
This makes absolutely sense. Doing like this, you are able to create a React app per view. Routing probably doesn't work this way, because there is only one SpaFallbackRoute, but if you just want to make single views more dynamic, it would make sense to create multiple views which are hosting a specific React app.
This is exactly what I expect using React. E. g. I have many old ASP.NET Applications and I want to get rid of the old client script and I want to modernize those applications step by step. In many cases a rewrite costs to much and it would be easy to replace the old code by clean React apps.
The other changes in that project are not really related to React in general. They are just implementation details of this React demo applications
- There is a simple API controller to serve the weather forecasts
- The
HomeControlleronly contains theIndexand theErroractions
Some concluding words
I didn't really expect such a clearly and transparently configured project template. If I try to put the setup of the last post into a ASP.NET Core project, I would do it almost the same way. Using Webpack to transpile and bundle the files and save them somewhere in the wwwroot folder.
From my perspective, I would use this project template as a starter for small projects to medium sized projects (whatever this means). For medium to bigger sized projects, I would - again - propose to divide the client app ad the server part into two different projects, to host them independently, to develop them independently. Hosting independently also means, scale independently. Develop independently means both, scale the teams independently and to focus only on the technology and tools, which are used for this part of the application.
To learn more about React and how it works with ASP.NET Core in Visual Studio 2017, I will create a Chat-App. I will also write a small series about it:
- React Chat Part 1: Requirements & Setup
- React Chat Part 2: Creating the UI & React Components
- React Chat Part 3: Adding Websockets using SignalR
- React Chat Part 4: Authentication & Storage
- React Chat Part 5: Deployment to Azure
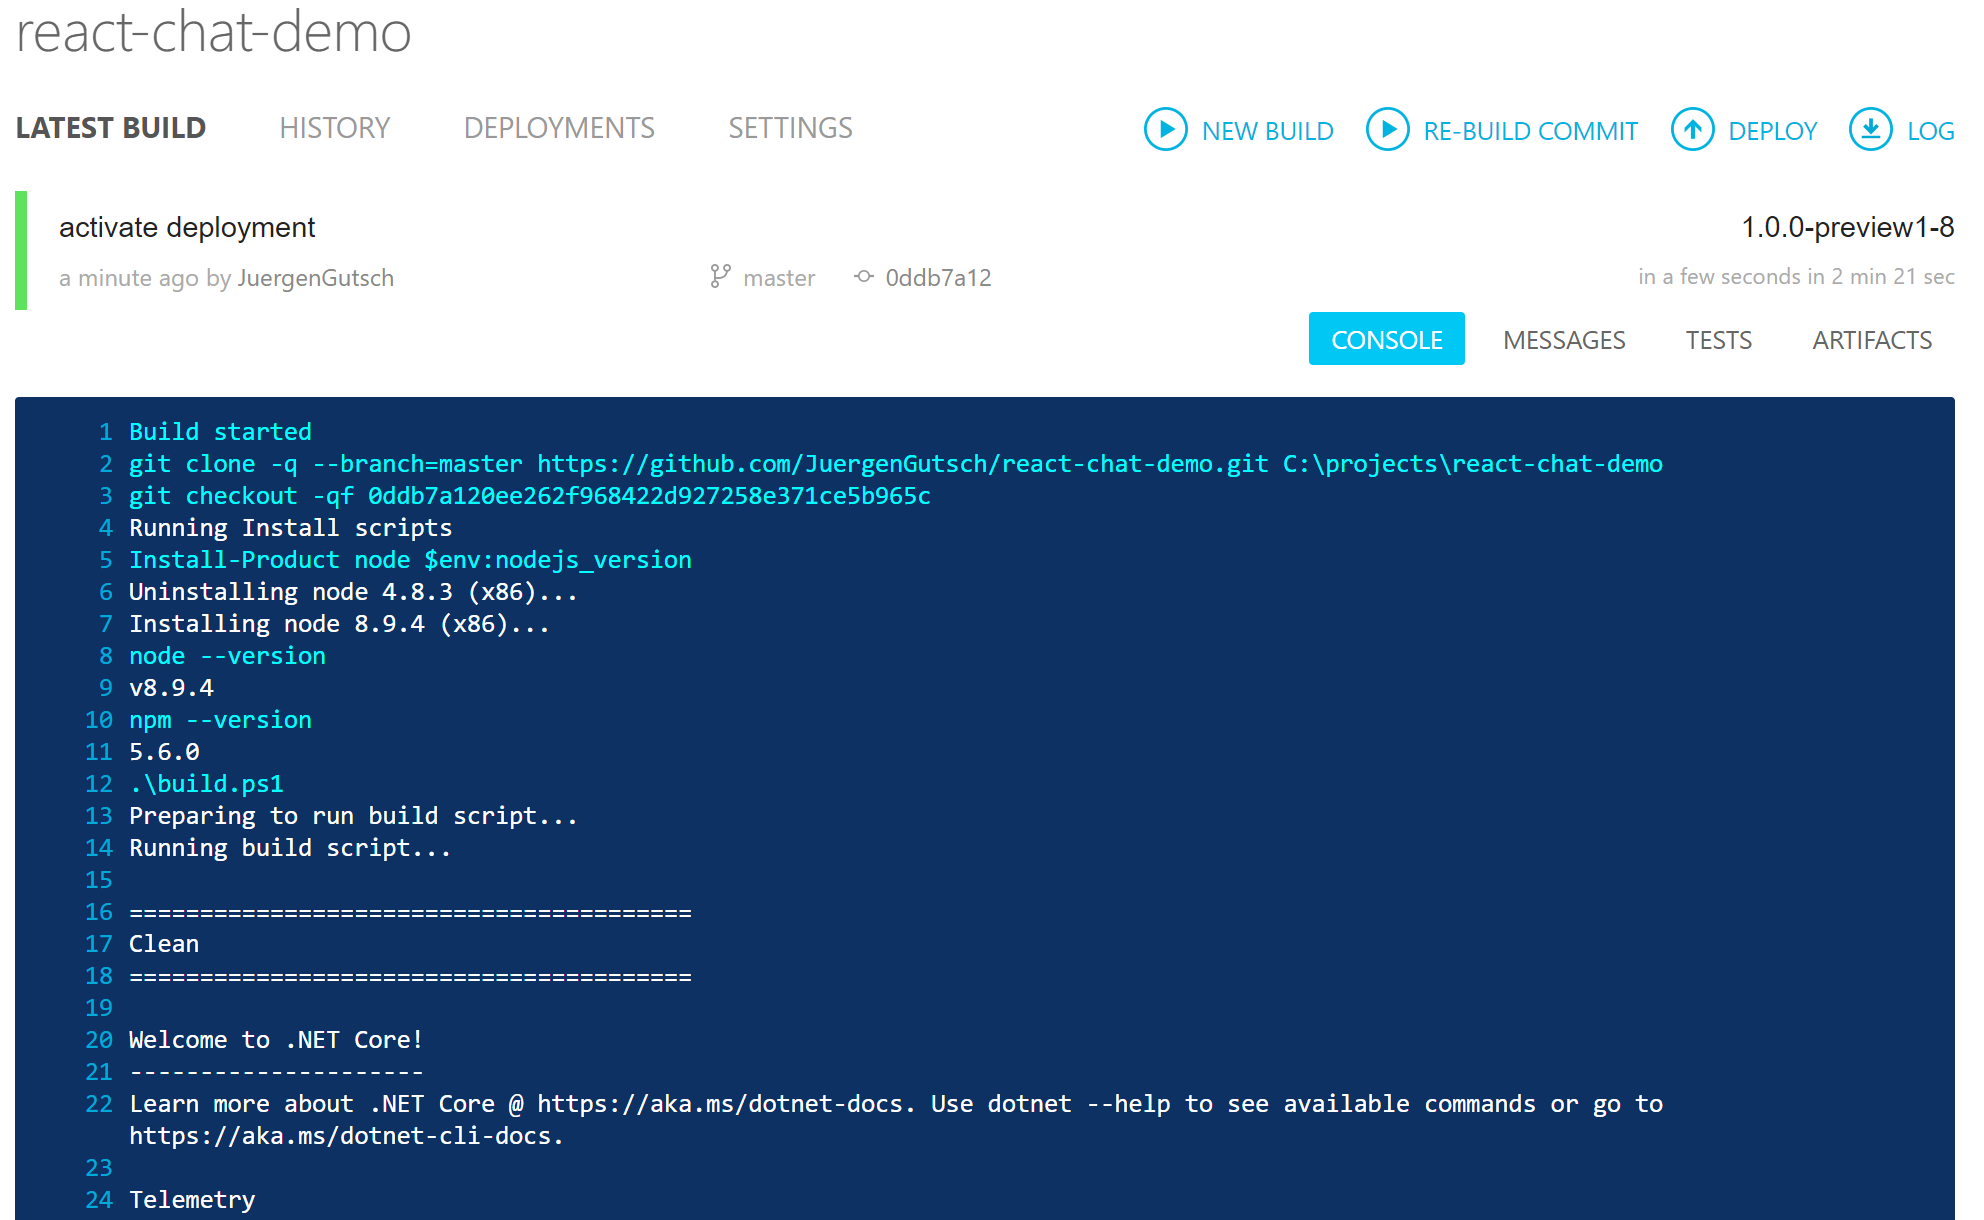
I also set-up a GitHub repository where you can follow the project: https://github.com/JuergenGutsch/react-chat-demo